Proper RV battery maintenance is crucial for dependable power and a hassle-free trip. With a few essential upkeep practices, you can avoid costly replacements, extend battery life, and ensure your RV or motorhome is always road-ready. In this guide, you’ll find expert tips on maintaining, cleaning, storing, and charging your RV battery to keep your outdoor adventures powered up.
Types of RV Batteries
Traditional Lead-Acid Batteries
Traditional lead-acid batteries store energy through lead plates in a sulfuric acid solution. During charging, they produce gases as the electrolyte reacts with the lead, making venting essential to prevent pressure buildup. This design demands careful handling and regular checks of electrolyte levels to ensure performance and longevity.
Sealed Lead-Acid (SLA) Batteries
Sealed Lead-Acid batteries, such as AGM types, have absorbed or gelled electrolyte, making them spill-proof and reducing maintenance. Their sealed design prevents gas leakage, meaning they don’t require venting, and can be mounted in various orientations, ideal for RVs.
Flooded Lead-Acid Batteries
Flooded lead-acid batteries are similar to traditional types but have open cells for easy electrolyte access. This allows for frequent water refills, necessary to maintain electrolyte balance and prevent overheating. They’re more prone to terminal corrosion due to exposure.
Lithium-Ion Batteries
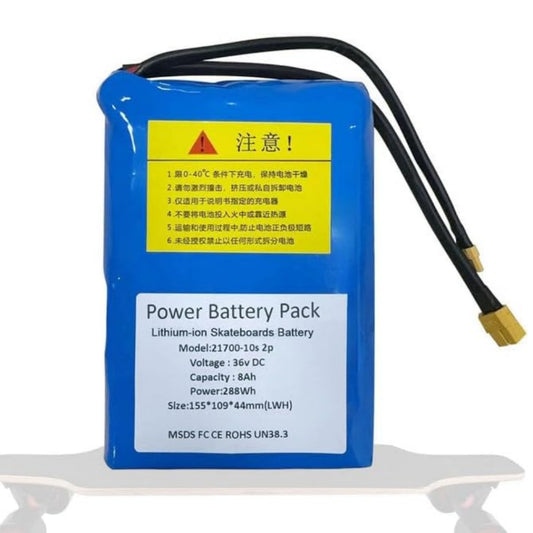
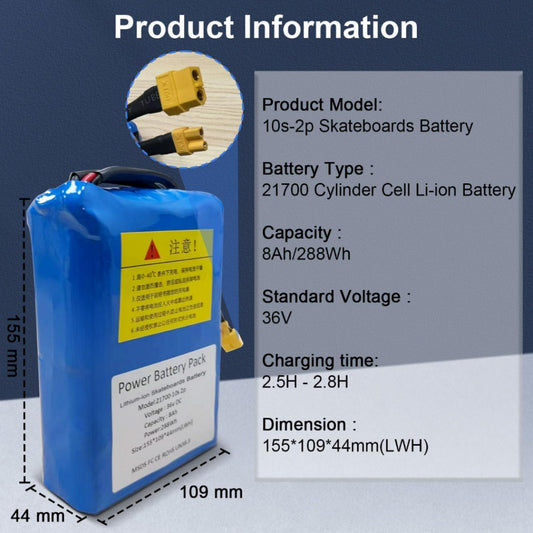
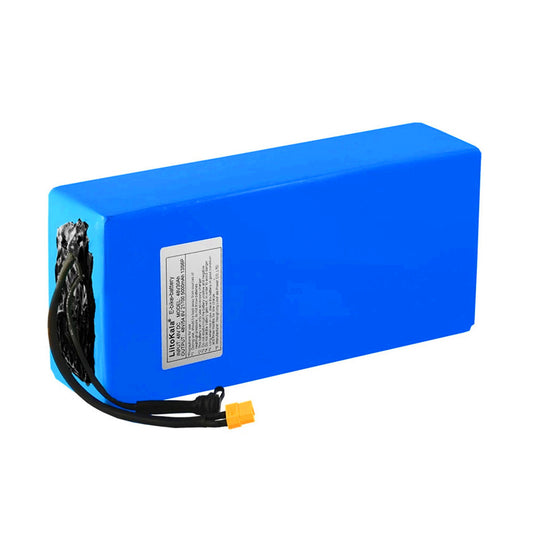
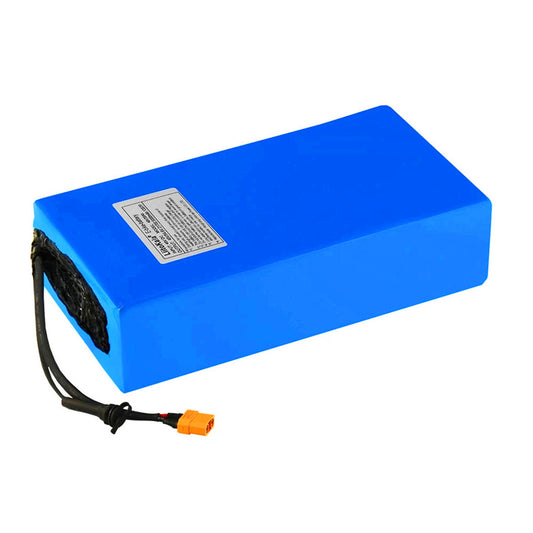
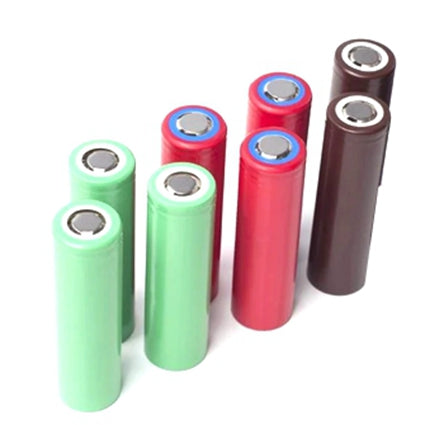
Lithium-ion batteries use lithium compounds and sealed cells to deliver high energy density in a lightweight package. Unlike lead-acid batteries, they don’t produce gases or require venting, thanks to their fully sealed design. Built-in Battery Management Systems (BMS) protect against overcharging and overheating, minimizing maintenance needs.

RV Battery Maintenance Checklist
As different types of RV batteries come with different constructions, their maintenance requirements also vary.
Traditional Lead-Acid Batteries
-
Check electrolyte levels monthly and add distilled water as needed, ensuring plates are covered.
-
Clean terminals with a baking soda and water solution to remove any corrosion buildup.
-
Charge in a well-ventilated area to allow safe gas release.
Sealed Lead-Acid (SLA) Batteries
-
Inspect periodically for signs of wear or bulging.
-
Clean terminals with a dry cloth to prevent corrosion.
Flooded Lead-Acid Batteries
-
Check and top off electrolyte levels with distilled water regularly.
-
Clean terminals with a corrosion remover or baking soda solution. Store and charge in a ventilated area to allow gases to dissipate safely.
Lithium-Ion Batteries
-
Use a lithium-compatible charger to avoid overcharging.
-
Occasionally inspect for external damage.
How to Clean Your RV Battery Properly?
Cleaning your RV battery removes corrosion and keeps connections strong. Follow these steps for a safe, thorough cleaning:
Gather Supplies
Start by assembling safety gloves, protective eyewear, a wire brush, baking soda, distilled water, and a soft cloth. Make sure you’re in a well-ventilated area, as cleaning may release small amounts of fumes.
Disconnect the Battery
Turn off the RV's power and disconnect the battery cables, starting with the negative (-) terminal, then the positive (+) terminal. This order prevents sparking and makes the cleaning process safer.
Mix Cleaning Solution
In a small container, combine about one tablespoon of baking soda with one cup of distilled water, stirring until it forms a slightly thick paste. This paste neutralizes any acid deposits on the terminals.
Apply and Scrub the Terminals
Dip a wire brush into the baking soda paste and apply it directly to the terminals. Scrub each terminal in a circular motion until all corrosion is removed. Be thorough but gentle to avoid damaging the connections. Once the terminals are clean, dip a cloth in distilled water to rinse any leftover paste and residue.
Clean the Battery Surface
Lightly dampen a cloth with distilled water and wipe down the battery's exterior to remove dust and grime, taking care not to let any water seep into the cells or internal components.
Dry the Battery Completely
Use a clean, dry cloth to pat the battery terminals and surface dry. Ensure no moisture remains, as this can lead to corrosion or affect the battery’s function when reconnected.
Reconnect the Battery
Begin by attaching the positive (+) cable first, followed by the negative (-) cable. Make sure connections are secure and tight to optimize power flow.

How to Store Your RV Battery Properly?
Storing your RV battery correctly extends its life and ensures it’s ready for your next trip. Follow these steps based on your battery type for optimal care.
Choose the Right Location
Store all battery types in a cool, dry space, ideally 50°F (10℃) to 70°F (21℃).
Lead-acid batteries, especially flooded types, are sensitive to freezing and should be kept from cold temperatures that may cause expansion damage. Lithium batteries tolerate temperature changes better but still perform best when kept out of extreme heat or freezing.
Disconnect and Remove
Turn off RV power and disconnect the negative (-) terminal first, then the positive (+) to prevent sparking. Removing the battery prevents gradual discharge, especially important for lead-acid types, which can drain more quickly when connected.
Clean the Battery
Before storing, clean both lead-acid and lithium batteries to remove corrosion or dust. Lead-acid types, particularly flooded, are more prone to terminal corrosion and benefit from a clean surface. Lithium batteries need less frequent cleaning but should be wiped down to keep connections clear.
Charge and Monitor
Fully charge lead-acid batteries before storage to prevent sulfation and check monthly, recharging if they drop below 80%. Lithium-ion batteries should be stored at around 50-80% charge and checked every few months to ensure they remain above 20%.
Use a Battery Maintainer if Needed
A battery maintainer is ideal for lead-acid batteries to keep them charged without risk of overcharging. Lithium batteries typically don’t require a maintainer but can benefit from one if stored for extended periods.
Protect Terminals
Apply a thin coat of petroleum jelly or terminal spray, especially on lead-acid batteries, to prevent corrosion. Lithium batteries also benefit from this step to maintain clean connections.
How to Charge Your RV Battery Correctly?
Follow these specific tips for each battery type to ensure safe and efficient charging.
Use the Right Charger
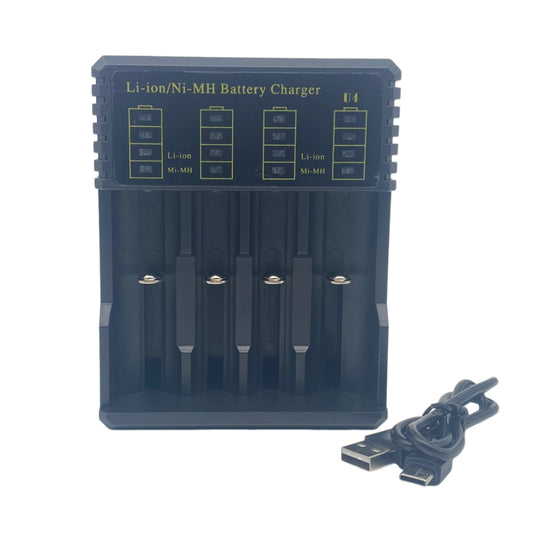
Each battery type charges best with a compatible charger. Lead-acid chargers provide a steady current for gradual charging, ideal for preserving battery health, while lithium batteries require chargers that can deliver controlled, rapid charging cycles. Ensuring compatibility helps maintain battery efficiency and longevity.
Charge in a Well-Ventilated Area (for Lead-Acid)
Lead-acid batteries release gases during charging, which can be hazardous in confined spaces. Place them in a well-ventilated area to disperse these gases safely. Lithium batteries are fully sealed and do not produce gases, making them safe to charge indoors.
Monitor Voltage and Amperage
Lead-acid batteries generally charge between 13.8 to 14.4 volts, while lithium-ion batteries charge at higher, controlled voltages, often with built-in safeguards. If your charger doesn’t auto-regulate, adjust it to match the battery’s voltage for safe charging.
Avoid Overcharging
Lead-acid batteries are prone to sulfation from overcharging, so using a charger with an automatic shutoff feature is essential. For lithium batteries, which often have built-in Battery Management Systems (BMS), charging stops automatically when full, preventing damage.
Check Charge Levels Regularly
For lead-acid batteries, recharge when levels drop to around 80% to prevent sulfation. Lithium batteries can discharge to around 20% safely, but avoid full discharge to maximize battery life.
Conclusion
Proper maintenance, storage, and charging practices are essential to maximizing your RV battery’s lifespan and reliability. For those ready to upgrade to a long-lasting, low-maintenance solution, consider lithium batteries for sale and LiFePO4 battery charger from BatteryInt—they’re designed for durability and ease of care, perfect for powering your next RV adventure.
Read More:
How to Charge an RV Battery: 6 Methods for Safety & Efficiency
How Long Do RV Batteries Last? Types, Tips & Replacement Signs
Lithium vs Alkaline Batteries: What’s Right for You?
NiMH vs Lithium-Ion Batteries: Comprehensive Comparison and Guide

