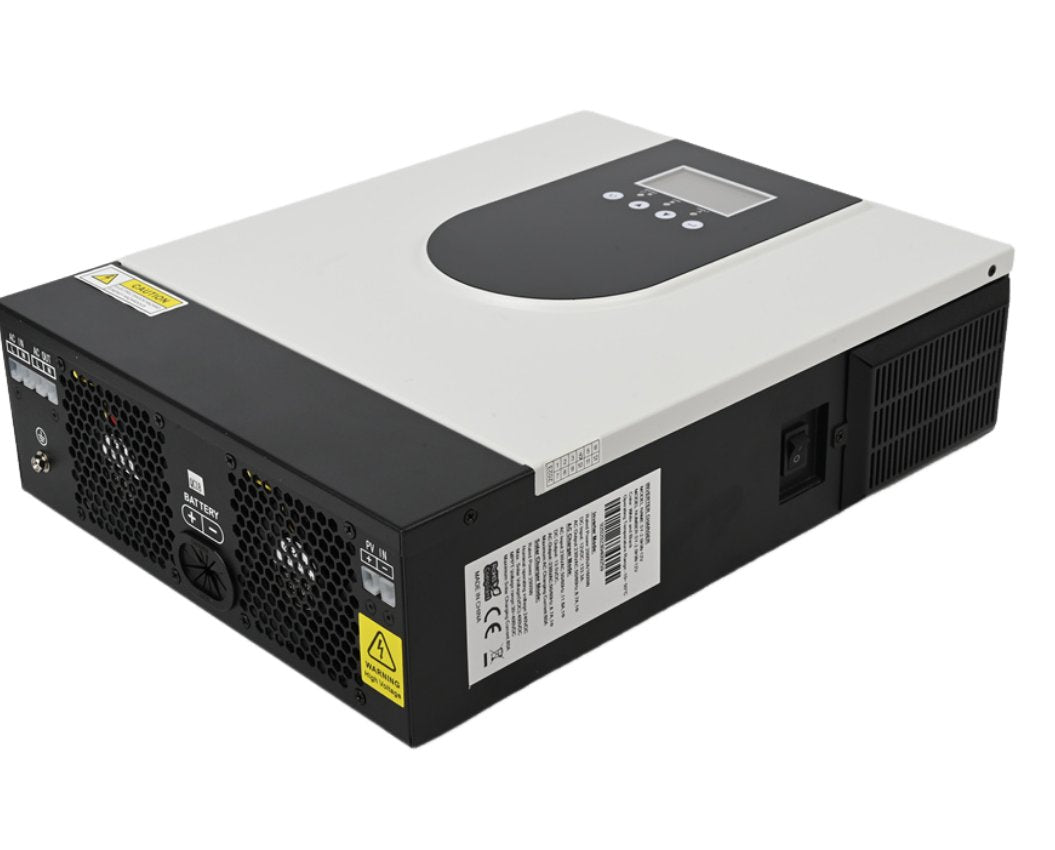
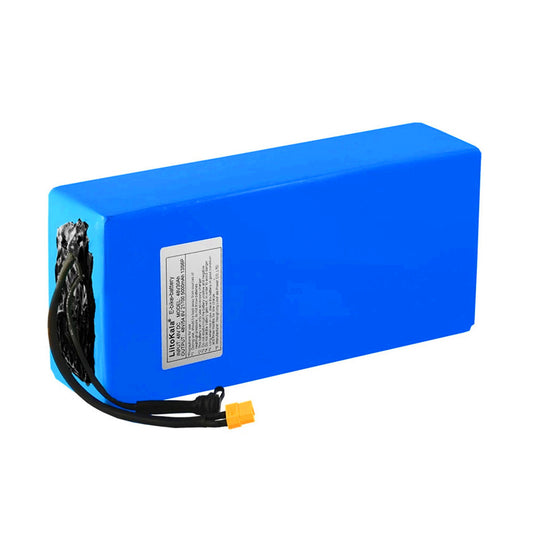
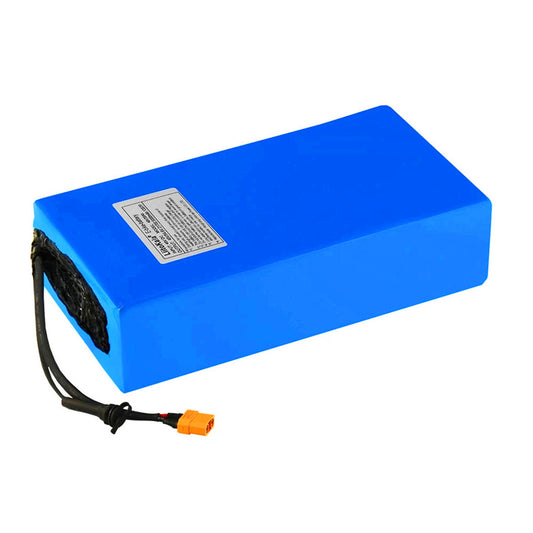
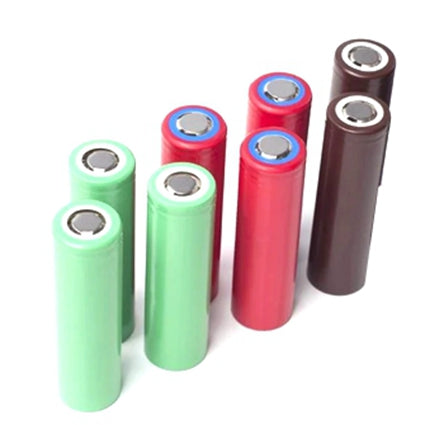
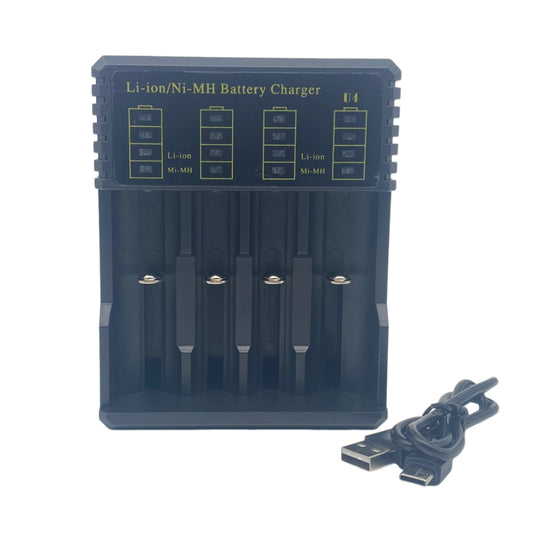
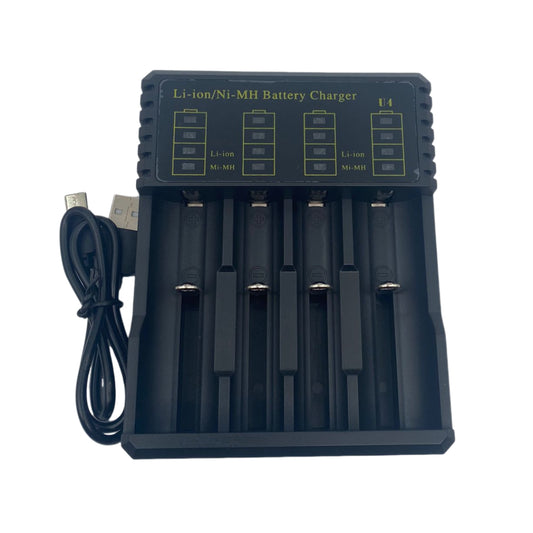
Charging your RV battery is essential to keep your vehicle’s systems running smoothly on the road. Whether you're using a lead-acid or LiFePO4 battery, knowing the right methods will extend its lifespan and improve reliability. In this guide, you'll learn the most efficient ways to charge your RV battery safely and effectively.
6 Ways to Charge an RV Battery
You have several options when it comes to charging your RV battery, each with its own benefits depending on your situation:
-
Shore Power
The most common method when parked at a campsite with electrical hookups. It provides a steady AC current that your RV’s converter transforms into DC power to charge your battery.
-
Solar Panels
Ideal for off-grid camping. Solar panels convert sunlight into electricity, which is stored in your RV battery through a charge controller. Make sure your setup includes enough wattage to handle your energy needs.
-
Alternator Charging
When you're driving, your RV’s alternator can charge the battery. This method is passive but effective, especially for long trips.
-
Inverter Generator
A portable generator can be used to charge your battery when shore power isn’t available. Look for an inverter generator to provide stable power and avoid damaging your battery.
-
DC to DC Charger
If you have a secondary battery bank, a DC to DC charger ensures that your RV battery charges efficiently from your vehicle’s alternator without overloading it.
-
Wind Turbine
For windy locations, a small wind turbine can be a supplementary source of power to charge your RV battery, though it’s less common and requires specific conditions.

Charging RV Batteries: Step-by-Step Guide
Now that you know the different charging methods, let’s break down how to charge your RV battery efficiently in each scenario:
Shore Power:
-
Locate a power source: Find a 120V outlet at your campsite, RV park, or home.
-
Connect your RV: Use a heavy-duty RV power cord to plug your RV into the outlet.
-
Switch on the RV converter: Ensure your RV’s converter is active to convert AC to DC power for your battery.
-
Monitor the charge: Check the battery monitor inside your RV to track the charging process. Most systems will auto-stop when the battery is full, but manual monitoring helps avoid overcharging.
-
Unplug safely: Once fully charged, disconnect the power cord to prevent unnecessary load on your battery.
Solar Panels:
-
Set up the panels: Place your solar panels in an area with maximum sunlight exposure. If you have portable panels, angle them for optimal sun exposure.
-
Connect the charge controller: Run the wires from your solar panels to the charge controller to regulate power flow.
-
Link to the battery: Connect the charge controller to your RV battery. Make sure all connections are secure.
-
Monitor charging levels: Check the display on your charge controller to ensure the battery is charging properly. Solar charging can take longer, so be patient.
-
Adjust as needed: Throughout the day, adjust the solar panel’s position to maintain peak sun exposure and efficiency.
Alternator Charging:
-
Check the wiring: Ensure your alternator is properly connected to your RV’s battery, usually via the 7-pin connector or a dedicated charging line.
-
Start the engine: Begin driving, as the alternator only charges the battery when the engine is running.
-
Drive for extended periods: Charging through the alternator is slower, so plan for long drives to fully recharge the battery. Typically, this method works best as a supplementary charge.
-
Monitor charge levels: Use your RV's battery monitor to track how much charge is being restored during the drive.
Inverter Generator:
-
Position the generator: Set the generator up in a well-ventilated, outdoor area, at least 10 feet away from your RV to avoid carbon monoxide buildup.
-
Connect the generator: Plug the generator into your RV’s shore power connection or directly to the battery through a converter.
-
Check fuel levels: Ensure the generator has enough fuel to run for the time needed to charge your battery.
-
Start the generator: Switch on the generator and let it run. Most inverter generators provide stable power, but check if your battery is charging correctly.
-
Turn off the generator: Once the battery is charged, turn off the generator and safely disconnect it from the RV.
DC to DC Charger:
-
Install the charger: Mount the DC to DC charger between your vehicle’s alternator and your RV’s battery bank.
-
Set the correct mode: Configure the charger based on your battery type (lead-acid or LiFePO4) to avoid damaging the battery.
-
Start your vehicle: The charger will automatically start transferring power when the vehicle’s engine is running.
-
Drive regularly: DC to DC chargers work best over extended drives to replenish battery levels.
-
Monitor battery health: Check the battery monitor to ensure the charger is providing adequate power.
Wind Turbine:
-
Set up the turbine: Place the wind turbine in an open area with steady wind. The turbine should be securely mounted to withstand wind pressure.
-
Connect to the charge controller: The turbine needs a charge controller to manage power flow to your battery.
-
Link to the RV battery: Run the cables from the charge controller to your battery.
-
Monitor wind conditions: Wind energy can fluctuate, so keep an eye on the turbine’s output and ensure it isn’t overcharging the battery.
-
Store the turbine when not in use: To prevent damage in extreme weather, take down the turbine when wind conditions are too severe or when it’s not needed.
Charging RV Batteries in Series or Parallel
Understanding how to charge RV batteries in series or parallel is important when dealing with multiple batteries, as each configuration affects both voltage and capacity differently:
-
Charging Batteries in Series:
-
Connect the batteries: In a series configuration, connect the positive terminal of one battery to the negative terminal of the next.
-
Monitor voltage: The voltage adds up across all batteries, while the capacity (Ah) remains the same. For example, two 12V batteries in series provide 24V total.
-
Charging setup: Use a charger that matches the combined voltage of the batteries. If you have two 12V batteries connected in series, you'll need a 24V charger.
-
Check connections: Ensure all cables are securely connected and charge the battery bank just as you would a single battery, monitoring the process for balanced charging across all batteries.
-
-
Charging Batteries in Parallel:
-
Connect the batteries: In a parallel setup, connect all the positive terminals together and all the negative terminals together.
-
Monitor capacity: The total voltage stays the same, but the amp-hour (Ah) capacity increases. For example, two 12V 100Ah batteries in parallel provide 12V with 200Ah capacity.
-
Charging setup: Use a 12V charger that matches the voltage of each individual battery. Since the batteries share the load, they will charge more slowly but maintain the same voltage.
-
Balance the charge: It’s crucial to balance the charge between the batteries by ensuring they are of the same type, age, and charge level to prevent uneven wear.
-

Safety Tips for Charging Your RV Battery
Charging your RV battery requires attention to safety to prevent damage or accidents. Here are key safety tips to follow:
-
Use the Correct Charger
Always use a charger that matches your battery’s type (lead-acid or LiFePO4) and voltage. Using the wrong charger can result in overcharging, overheating, or permanent damage to your battery.
-
Avoid Overcharging
Overcharging can cause excessive heat buildup, especially in lead-acid batteries. Make sure to use a charger with an automatic shut-off feature or regularly monitor your battery's charge level.
-
Ventilation is Key
Lead-acid batteries produce gases when charging, so make sure you charge them in a well-ventilated area to avoid the risk of gas buildup and explosion. LiFePO4 batteries are safer but still benefit from proper ventilation.
-
Inspect Connections
Check the cables and terminals for any signs of corrosion or loose connections before starting the charge. Corroded connections can lead to inefficient charging or even electrical shorts.
-
Avoid Charging in Extreme Temperatures
Batteries perform poorly in extreme heat or cold. Charge your battery in moderate temperatures to prevent damage and ensure a full charge.
-
Use a Smart Charger
Smart chargers are designed to optimize the charging process for your specific battery type, helping to prevent overcharging and extend battery life.
-
Regularly Check Battery Water Levels (Lead-Acid)
If you're using a lead-acid battery, check the water levels regularly and top them off with distilled water as needed to maintain proper functioning during charging.
Conclusion
Charging and maintaining your RV battery correctly is essential for ensuring reliable power on the road, whether you're using lead-acid or LiFePO4 batteries. By following the right charging methods and safety tips, you can extend your battery’s lifespan and optimize its performance.
Ready to upgrade to more efficient, long-lasting power? Consider switching to lithium batteries for sale for a dependable solution. Whether you need an e-bike 48v battery for your cycling adventures or a li ion battery 18650 for portable power, BatteryInt has everything you need to keep your equipment running smoothly.
Read More:
21700 Vs 18650 Battery: How to Choose It?

