


This guide provides step-by-step instructions for replacing the battery on the EMOVE Touring electric scooter.
The battery typically lasts several years. If a major issue occurs within the 1-year warranty period, please contact the manufacturer for support. This guide is intended for out-of-warranty maintenance.
Required Tools:
l Set of Allen wrenches
The procedure is straightforward and can be completed at home by most users.
Step 1 – Open the front deck panel
Begin by opening the front panel of the scooter. Remove all four screws and lift the cover away.

Step 2 – Remove the controller
Once it's open, grab the controller and pull it out along with all the cables. Now if you look back into this cavity, that back wall there is actually the battery.

Step 3 – Remove the brace (bottom screws)
To get the battery out, we need to remove everything in the way including this brace here at the front. There are eight screws in total that hold this brace in place. Let’s start by removing the four screws on the bottom. Retain the washers attached to each screw to avoid losing them.
 Step 4 – Remove the brace (top screws)
Now we can get the 4 on the top. Removing these is going to make the handlebars of the scooter come free, but removing that bracket makes it easier to deal with the cables.

Step 5 – Unplug the battery and motor cables
Now that the brace is out, let’s start unplugging the scooter‘s Discharge connector. First, we're going to unplug the battery itself and then unplug the motor cables(Yellow,Green,Blue). The motor cables aren’t connected to the battery, but getting that slack on the controller is really nice.


Step 6 – Unplug charger connector (red and black cables)
Next, let’s unplug the charger. If you look into the back, you’ll see a pair of red and black cables that connect with the red connector(T plug). Yank on that until it’s unplugged.

Step 7 – Drop side fender with charging port
To keep clearing the way, we need to drop the side fender with the charging port. Remove all three of these screws and drop it down. Once it's down, hunt for the light cables that are coming from inside the deck. These cables run in front of the battery and we need to remove them both.

Step 8 – Disconnect red/black/yellow cable from controller
There’s still something in the way on the charger side – this black and red cable with the loose yellow wire connected to the controller. Disconnect that and pull it out from the fender.

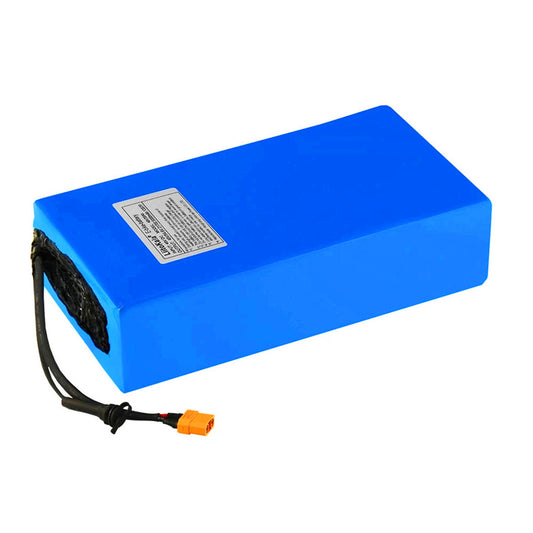
Step 9 – Remove and insert the battery
Now everything should be out of the way. Grab hold of the battery and pull it out. Don’t force it – if something feels stuck, double check it. after the old battery is out, slide the new battery into the space. Hold the motor cables or they’ll get pulled under.(If the cables do get dragged down, pull the battery out again, reposition the motor cables, and try again.)


Step 10 – Reinstall fender and reconnect the light cables and other connectors.
Let’s start putting it back together. Slide the light connectors back into the deck and fasten the three screws on the fender.Route lights across,push those light wires across to the other deck.Plug light cables back in (Find the color-matching ends and reconnect the lights. Line up the pins and arrows so as not to damage the connectors.) ,Reconnect the cahrge and discharge connectors.


Step 11 – Reinstall other fender & cable routing
Put the fender back on. Plug the charger cord and flat connector back into the hole. Tuck all cables neatly inside before fastening the 3 screws.